In this FAQ article we give you tips on how to troubleshoot, so you can find and solve the most typical power issues that prevent your bike from even turning on. If you can, it’s a good idea to use social media to connect with other eBikers in your area, with the same/similar bike model as yourself, so you can swap components on your bike to find out which part is causing an issue.
Battery
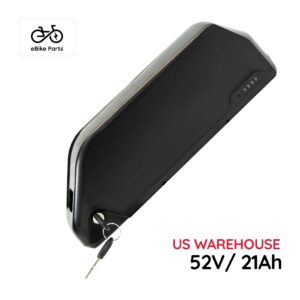
The most common issue is a dead or faulty battery. You can’t always trust your charger is working, and even if it is, you can’t always trust that the battery can pass the power on to your bike. The absolute quickest way to isolate if it’s a battery problem is to try the battery on another eBike, or try another working battery in your eBike.
| Due to risk of electric shock, we do not recommend attempting battery repair yourself unless you know what you’re doing. |
Incorrect Battery storage/dead cells
The most common reason for a dead battery is improper long-term storage. As stated in our battery care FAQ article, batteries should be put into storage with a 60-70% charge, then connected to a charger for a few minutes, every 3 weeks, to keep the chemistry in the cells active. With proper scheduling, the battery should not reach more than 80% charge by the time you need to use it gain. Batteries should not be stored longe term with more than 80% charge as the cells are slightly “under stress” when fully charged, and never below 20%, as the risk of cells permanently dying when they drop to 0%, is too high.
Charger not working
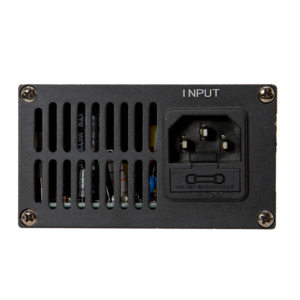
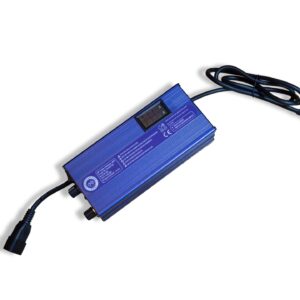
The charger may seem to be on, buy if all you have is a little colored LED light, you’re not really able to see what’s really going on. With a display that shows you how many volts the battery has, you can be certain the battery is actually receiving and storing power. Get a charger with a display, so you can see how much power is in the battery, or a voltage meter so you can test the charge of the battery.
Loose connection
All batteries are not born equal. One thing is human manufacturing errors or poor quality, but sometimes the basic design of a battery has flaws that cause issues that we encounter often.
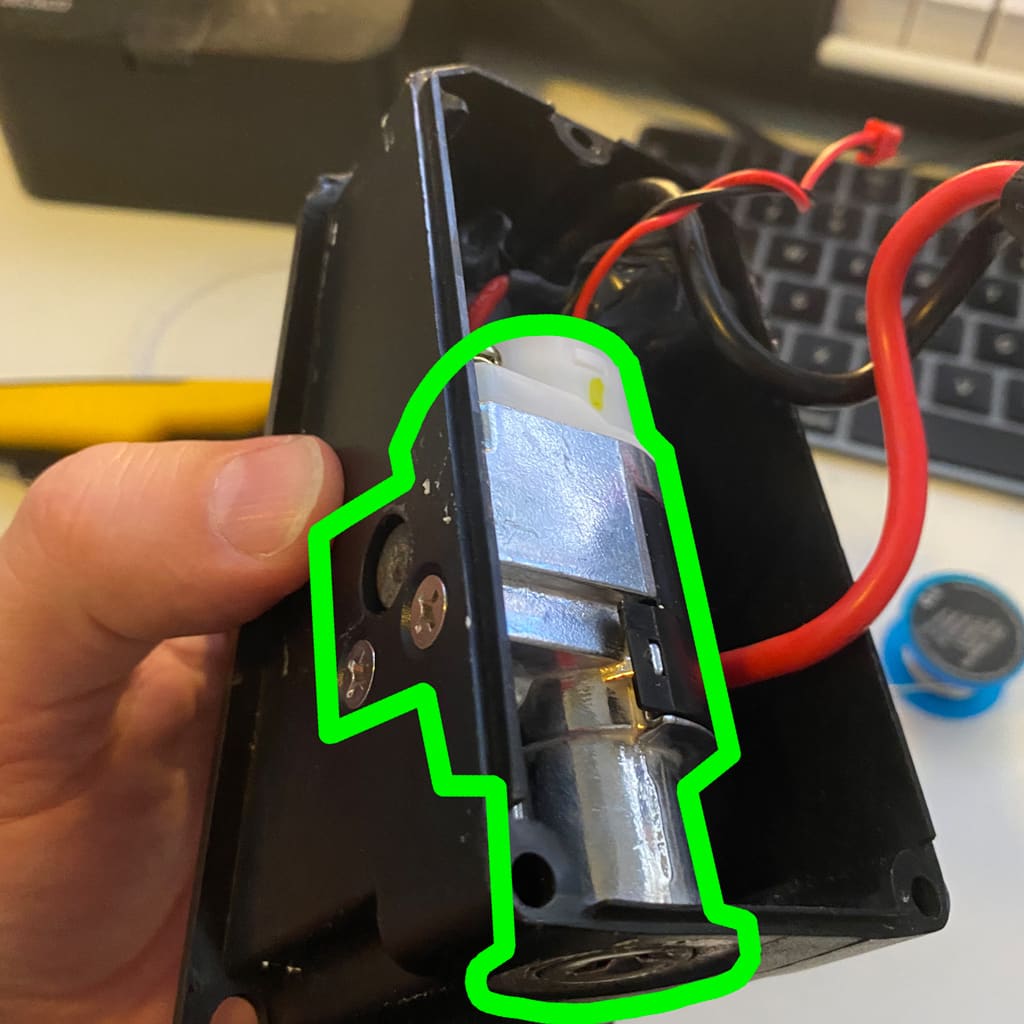
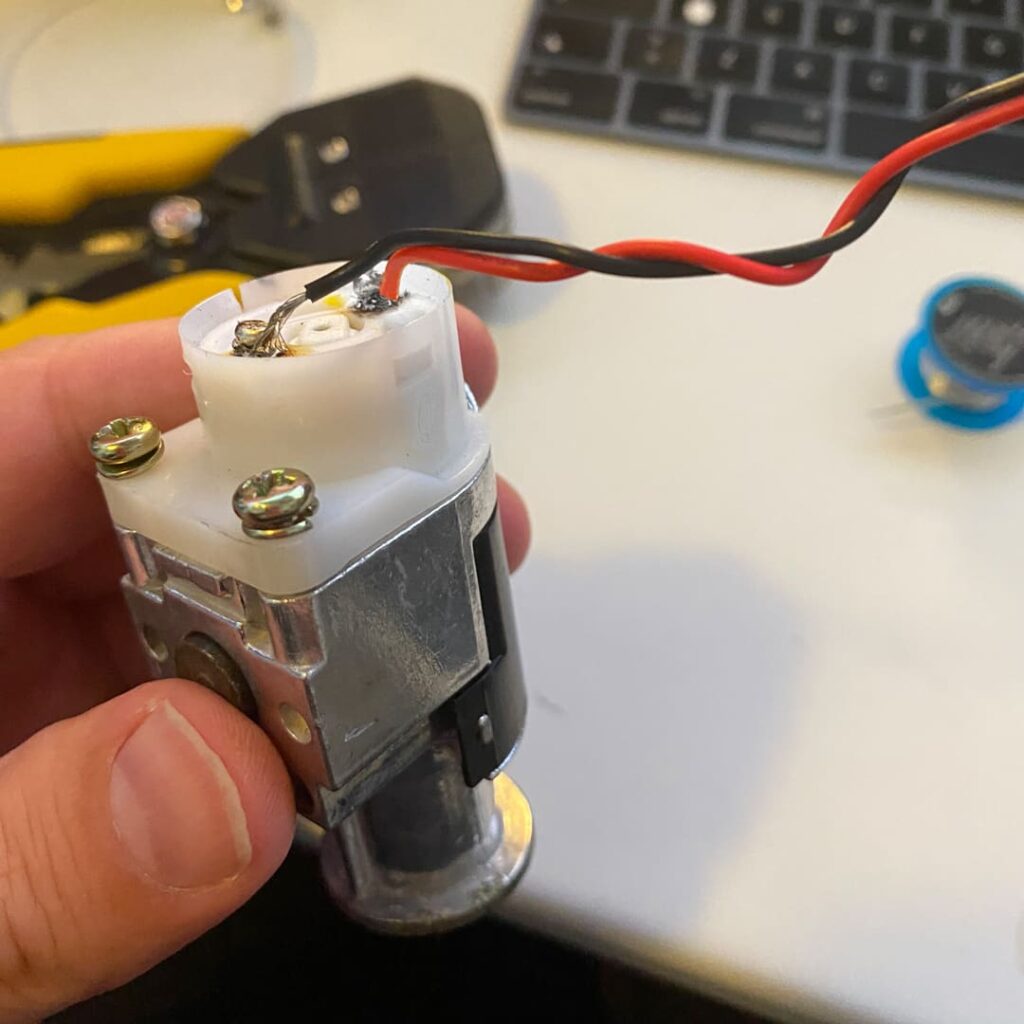
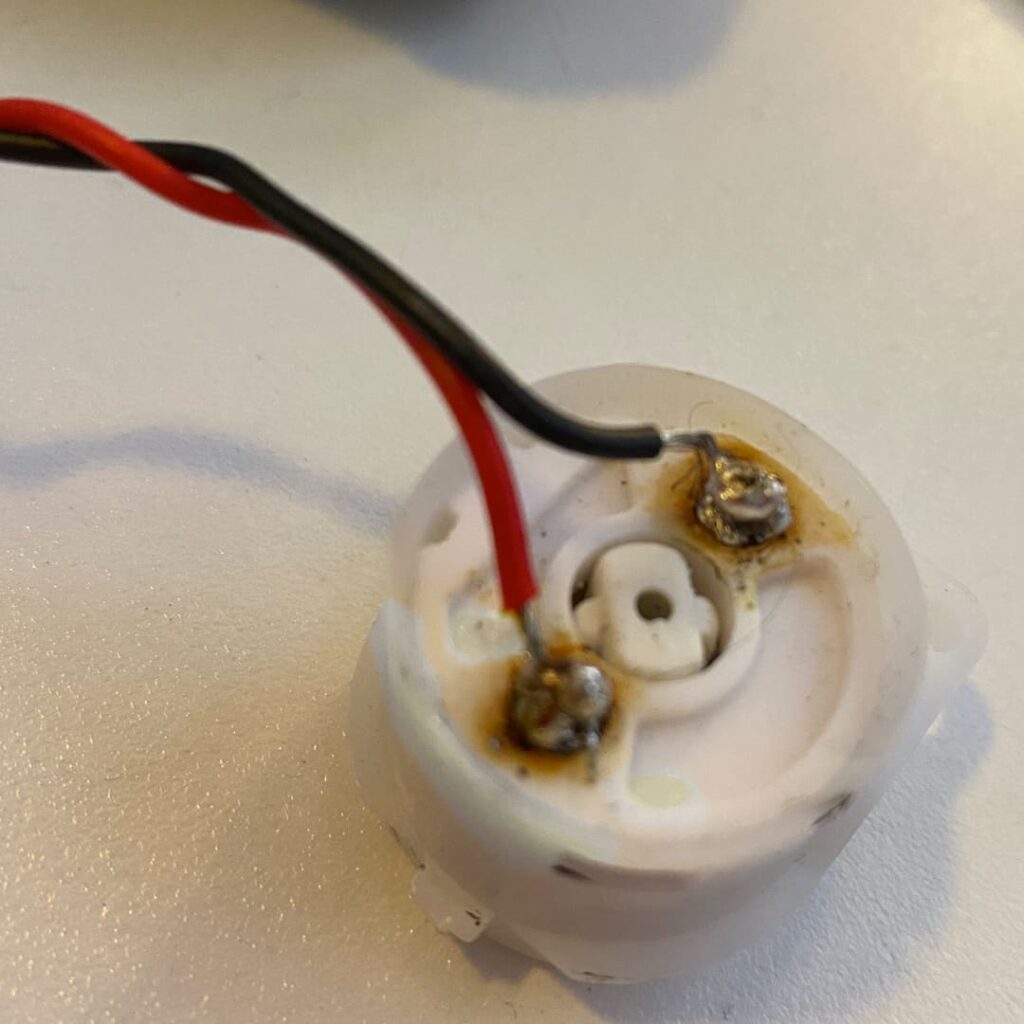
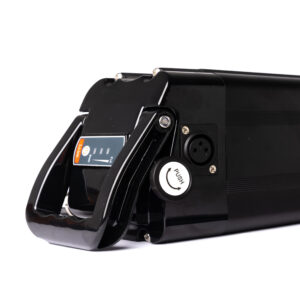
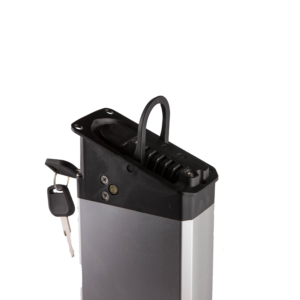
Key mechanism: The wires that connect to the key/lock mechanism are often very thin, and this increases the risk of snapping, due to metal fatigue from vibrations. Depending on your battery design, rain water can creep inside the locking mechanism, which will either create an unwanted connection (water is conductive) or cause wires to corrode and snap more easily. This means you can or can’t turn the battery on -or even off- with the key. This will usually mean the battery is fully charged, but turning the key doesn’t activate anything.
Other wires: There are also wires running to the charging port. These are often more rugged, but they can snap off where they are soldered at each end. There are also several wires running from the BMS to each group of cells in the battery pack, these can also lose connection for a number of reasons.
Dead BMS
The BMS (Battery Management System) is a little hardware component inside the battery, that has the job of monitoring how much charge each group of cells has. It ensures power is drained equally from each cell, and also that the input for your charger is evenly distributed and doesn’t exceed the safe maximum. A faulty BMS usually means the battery won’t recharge, and also prevents the battery from offloading its power. A faulty BMS is not easy to replace if you have no skills with a soldering iron, and incorrect installation/wrong type of BMS is dangerous as it can cause a fire. If all other checks have failed, and the BMS is a likely dead due to short circuit or overheating, please send the battery in for repair by a professional.
The “on” button and the display
Even though most eBike displays and ON-button panels are rated to survive rain, they can fail to keep out moisture and condensation, long-term use, vibrations from riding the bike, and and crashes can damage seals, internal connections and electronic components. If the ON button is broken, that could be a simple explanation. Like a light-switch which is not working, while light-bulb itself is fine.
Some “ON” buttons are wired directly to the display, some are connected to the display with a plug, some are directly built into the display (like the EggRider). Depending on your display and ho the ON-mechanism works, you may need to invest in a new ON-button, or an entirely new display.
The only way to test this, once your battery has been given the all-clear, is to try another rider’s compatible display ond/or button on your own bike.
Wires and plugs
Different bikes have different wiring configurations and plugs. Sometimes you just need to unplug everything and plug it back in, and voila! Just remember to make a note of everything, take pics or video underway.
A typical issue is bent or broken pins in a plug. This often happens after a part has unplugged and plugged in again. Especially the HIGO/JULET plugs have tiny thin pins, and need to be perfectly aligned when plugging in. Patiently taking your time, looking closely at what you’re doing, pays off. A bent pin can often be carefully straightened again, but can also snap.
Controller
The controller is responsible for communications between all electric parts of the bike. While it handles low voltage stuff like lights, display, throttle, horn and so on, it also channels power from the battery to everything else. Once you’ve eliminated the battery, ON-button, display and wires, you’re likely going to find your controller is a fault. Simply put, the high Amps passing through your controller, from battery to motor, can overheat the controller and melt important components and connections.
| Controllers can store very high voltage in their components for many hours after being unplugged! Do not attempt controller repair yourself! Contact a professional or replace it. |
-
 Down Tube Battery 52V_25Ah – Polly DP-9 Case€749,00
 -
 Down Tube Battery 52V_25Ah – Polly DP-9 Case – (US)
 -
 Battery 48V – Silverfish Case (UD Unimoke)€699,00
 -
 Battery Charger 72V (max. 84V)€119,00
 -
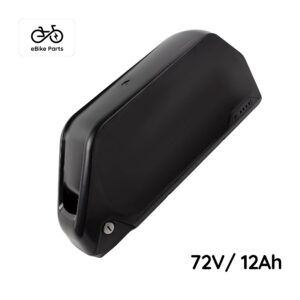 Down Tube Battery 72V_12Ah – Polly DP-9 Case€799,00
 -
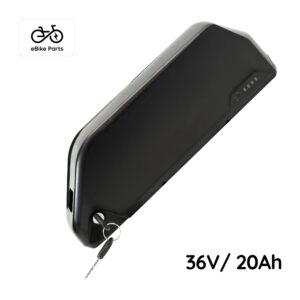 Battery 36V_20Ah – Super73 ZG Compatible Poly DP-6 Case€599,00
 -
 KILO.WATT- Battery 52V – SoftPack – MATE X Compatible (US)
 -
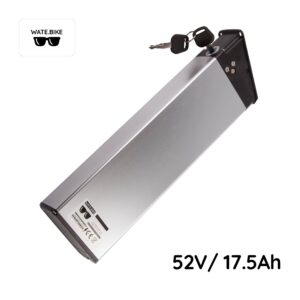 WATE.BIKE – Battery 52V – MATE X Compatible€569,00
 -
 Combo ProCharger 48/52V€189,00